Are you looking to elevate your home decor with personalized touches? Jar candle crafting techniques offer a fun and creative way to add a unique flair to your living space. Whether you’re a seasoned DIY enthusiast or a beginner crafter, these techniques allow you to customize candles to match your style and preferences. From layering different colored waxes to embedding decorative elements, the possibilities are endless. In this article, we will explore various jar candle crafting techniques to inspire your next creative project.
What methods can be used to make candles?
There are various methods of making candles, with one of the simplest being rolled beeswax candles. These candles are created by tightly rolling a flat sheet of beeswax around a wick, ensuring that the wick is securely in place. For shorter candles, patterned sheets can be folded along a line and then split into thinner sheets.
Another method of making candles is by using molds. Molds can be made from silicone, metal, or plastic, and can come in a variety of shapes and sizes. The melted wax is poured into the mold, allowed to cool and harden, and then removed from the mold to reveal the finished candle.
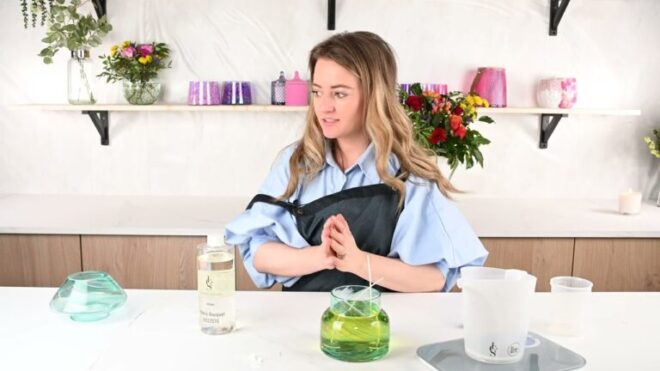
Finally, container candles are made by pouring melted wax into a container, such as a glass jar or tin. The wick is placed in the center of the container and held in place while the wax cools and solidifies. Container candles are popular for their versatility and ease of customization, as they can be made in a wide range of scents and colors.
What are the old candle making techniques?
In the past, candle making techniques varied widely, with one common method being the repeated dipping or drawing of a wick in molten fat or wax to create the candle. This process would be repeated multiple times until the candle reached the desired size and shape. Another technique involved hand-rolling soft wax around a wick to form the candle, a more labor-intensive but effective method. Additionally, some candles were made by pouring hot fat or wax onto a wick, allowing the candle to build up layer by layer.
These old candle making techniques required a certain level of skill and patience, as craftsmen had to carefully manipulate the materials to create the desired end product. The process of dipping or drawing the wick in molten fat or wax required precision and attention to detail to ensure that the candle was evenly coated and shaped. Hand-rolling wax around a wick was a more time-consuming process, but it allowed for greater control over the candle’s size and shape. Pouring hot fat or wax onto a wick required careful pouring and cooling to ensure that the layers built up evenly and securely.
Despite the labor-intensive nature of these old candle making techniques, they were effective in producing candles that provided light and warmth for centuries. The art of candle making has evolved over time, with modern methods and technologies making the process faster and more efficient. However, the traditional techniques of dipping, rolling, and pouring are still used by some artisans today, preserving the rich history and craftsmanship of candle making.
How can you prevent tunneling in jar candles?
To prevent jar candles from tunneling, it is important to allow the candle to burn for at least 1-2 hours during the first use. This ensures that the entire surface of the candle melts evenly, preventing tunneling. Additionally, trimming the wick to 1/4 inch before each use can help maintain a clean and even burn.
Another helpful tip to prevent tunneling in jar candles is to avoid extinguishing the candle before the wax has melted all the way to the edges. This can create a tunneling effect, where the candle burns straight down the middle and leaves excess wax on the sides. By allowing the wax to melt to the edges each time, you can ensure a longer and more even burn.
Lastly, choosing high-quality candles with a proper wax blend can also help prevent tunneling. Soy wax candles, for example, tend to burn more evenly compared to paraffin wax candles. Investing in well-made candles and following proper burning techniques can ensure a beautiful and long-lasting candle experience without the tunneling effect.
Master the Art of Jar Candle Making
Are you ready to elevate your candle making skills and create beautiful, handcrafted jar candles? With our expert tips and guidance, you can master the art of jar candle making in no time. From choosing the perfect wax and fragrance combination to mastering the pouring technique, we will help you create stunning candles that will light up any room.
Unlock your creativity and unleash your inner candle maker with our step-by-step guide to mastering the art of jar candle making. Whether you’re a beginner looking to learn the basics or an experienced crafter seeking new techniques, our tips and tricks will help you create candles that are not only visually appealing but also long-lasting and fragrant. So why wait? Start your candle making journey today and discover the joy of crafting your own unique jar candles.
Elevate Your Candle Crafting Skills
Are you ready to take your candle crafting skills to the next level? Look no further! Our expertly curated collection of high-quality materials and tools will help you create stunning, professional-looking candles that will impress even the most discerning of candle enthusiasts. Whether you’re a seasoned pro or just starting out, our products are sure to elevate your craft and take your creations to new heights.
With our easy-to-follow tutorials and step-by-step guides, you’ll be able to hone your skills and master new techniques in no time. From choosing the perfect scent to creating intricate designs, we have everything you need to become a candle-making maestro. So why wait? Elevate your candle crafting skills today and start creating beautiful, handcrafted candles that will leave everyone in awe.
Essential Tips for Creating Beautiful Jar Candles
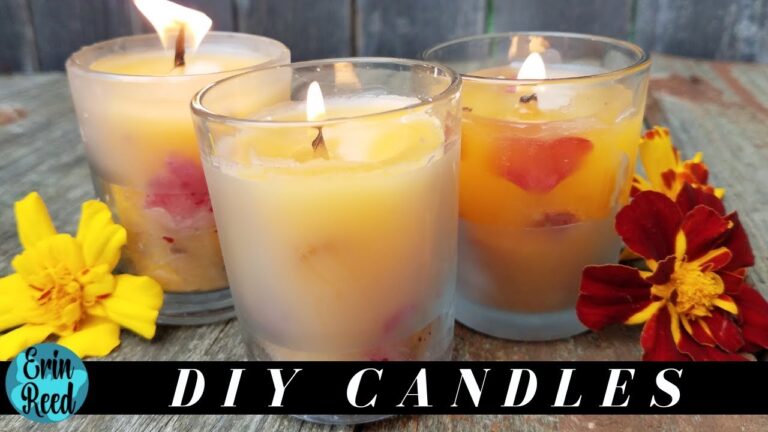
Creating beautiful jar candles can be a fun and rewarding DIY project. To start, choose high-quality wax and fragrance oils to ensure a long-lasting and aromatic candle. Be sure to also select a jar that complements your home decor and enhances the overall aesthetic of the candle.
When it comes to adding color to your jar candles, opt for natural dyes or pigments to avoid any harmful chemicals. Experiment with different color combinations to create unique and eye-catching designs. Additionally, consider adding decorative elements such as dried flowers or herbs for an extra touch of beauty.
To ensure a clean and even burn, always trim the wick before lighting your jar candle. This will help prevent soot buildup and ensure a longer-lasting candle. Additionally, be sure to burn your candle in a draft-free area to avoid uneven burning. By following these essential tips, you can create beautiful jar candles that not only look stunning but also fill your home with a delightful fragrance.
Incorporating these jar candle crafting techniques into your DIY projects will undoubtedly elevate the aesthetic appeal of your home decor and provide a sense of satisfaction and pride in your handmade creations. Whether you choose to experiment with different scents, colors, or textures, the possibilities for personalization and creativity are endless. By mastering these techniques, you can bring warmth and ambiance to any space, making your jar candles a standout feature in any room. So, roll up your sleeves, gather your supplies, and let your imagination run wild as you embark on your journey to becoming a masterful jar candle crafter.